As we await the passing of tropical storm Ericka, I kept wondering, with all the technology we have at Blue Ring Technologies what can we create to help us prepare for the storm?….Light bulb turns on…3D printed Bottle Opener. In this blog I want to you show the highlight of all the steps that occur when a simple idea is presented from concept to prototype. The first thing I thought about is that bottle openers are made usually of metal…for good reason. When plastic rubs against metal, plastic loses its shape and chips or breaks away. Therefore, a So a simple plastic bottle opener would not work well. This is when another idea struck…boom!!….I remember seeing a simply penny to open a bottle cap. What if we integrate a penny slot into a 3D printed bottle opener?…Ding..Solution!!!!…Having this basic concept in place we commence the 3D engineering drawing. First, we start with the basic outline of the bottle opener. The measurements were taken from several bottle openers found online. Second, after the outline we must assure we give the part proper thickness so that the opener does not break after applying force. 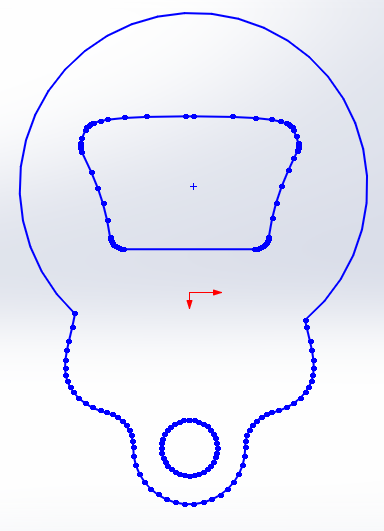
The next feature in the design was to make a slot in which we can insert the penny that is going to lift the bottle cap. These measurements are critical in order to make the part work. 
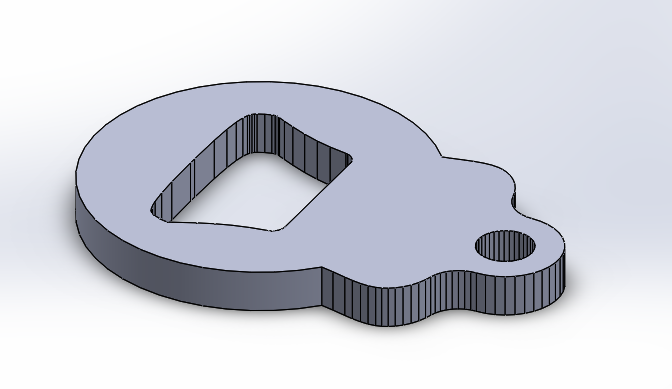
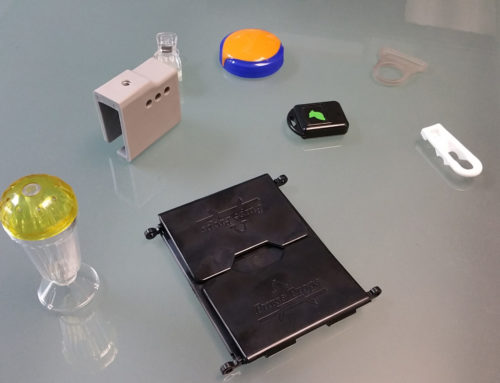
After all the major features are done, we still want to add a little marketing material to the bottle opener and make sure there are no sharp edges to the design. 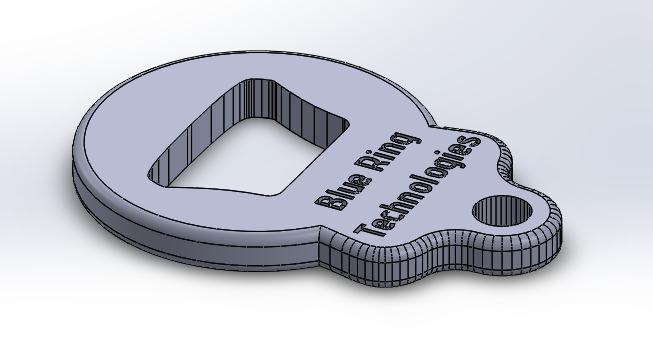
Lastly, once the design is finalized it then goes to the 3D printer. The steps included are as followed: We first set the 3D printed plate and wait four hours for the parts to complete the first phase of the 3D printed parts…talk about rapid prototyping. It then goes through a wash in which all the support material is dissolved. 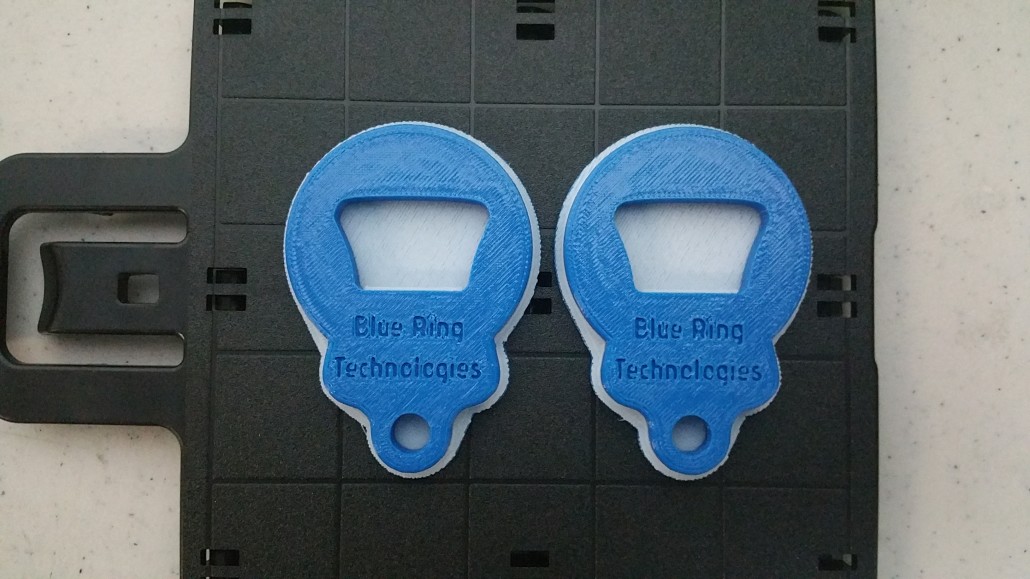
From the 3D printer comes out a perfect part and ready to do its job. Now Jake (my dog) and I can enjoy a nice coke bottle and wait till the storm passes through. 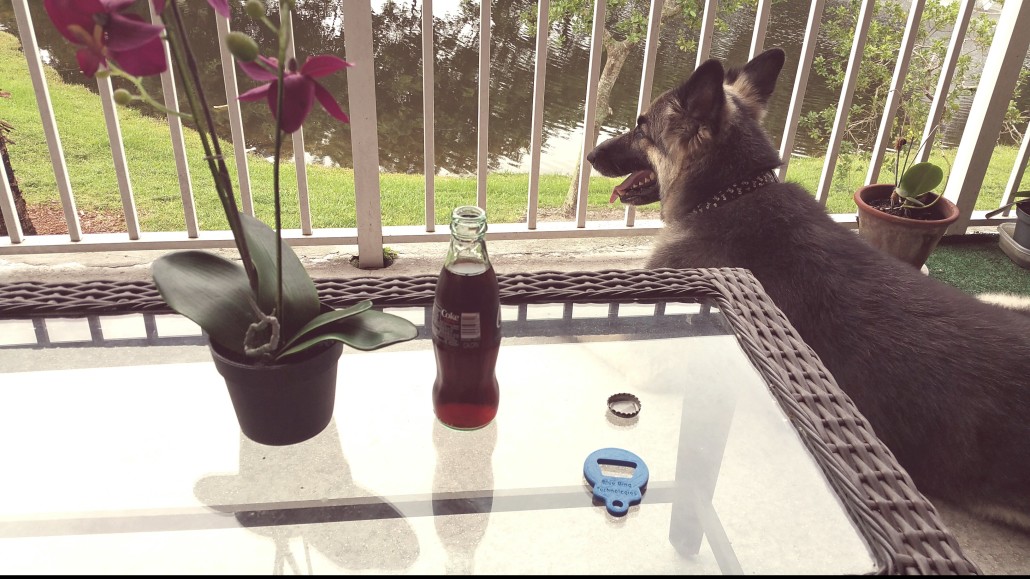
Call Us Today! (305) 707-4251|support@blueringtechnologies.com